将项目发布到Git@OSC
最后更新于:2022-04-01 03:32:23
Git 是我们常用的代码版本管理工具。
我们协作开发使用的是 OSChina 提供的 git 免费服务。
这篇文章将要讲解,如何使用WebStorm 将项目发布到 Git@OSC
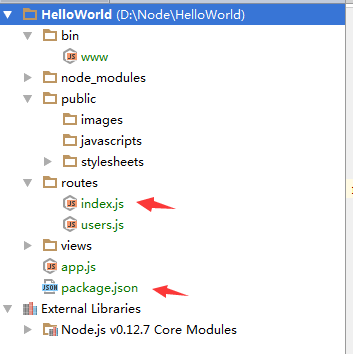
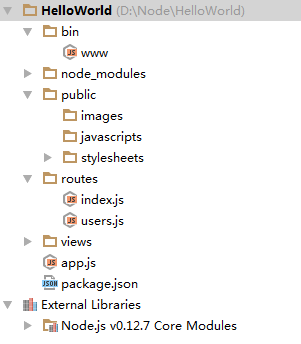
我已经在OSC建立了一个空白的git项目` 项目创建后进入管理清空项目`。
https://git.oschina.net/caomenglong/ExpressDemo.git
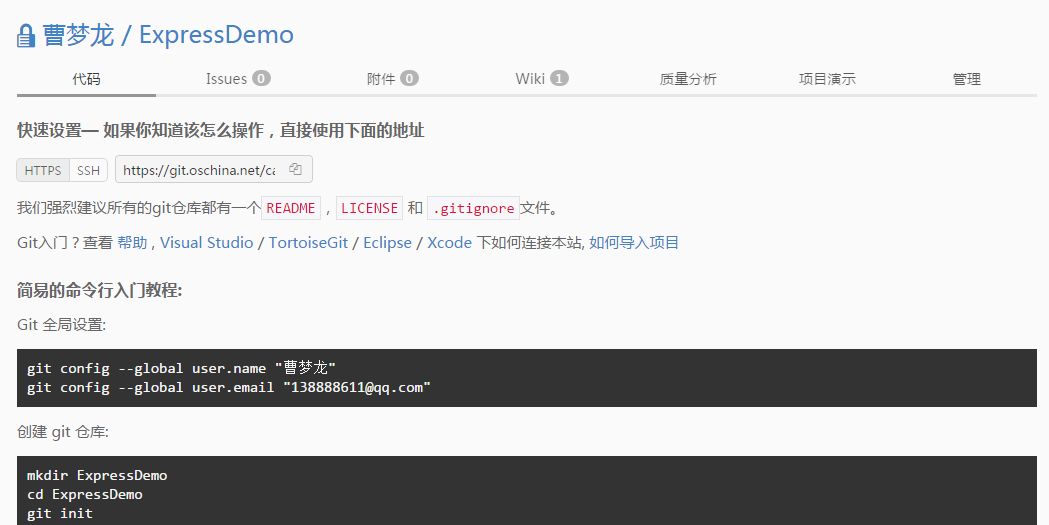
我将带领大家把项目代码利用WebStorm 发布进去。
* * * * *
#### **本地Git代码仓库建立**
首先需要启用项目的版本管理功能
点击VCS 启用版本控制

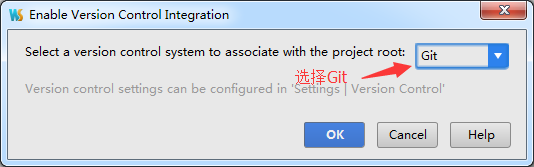
IDE底部显示本地Git代码仓库建立完毕

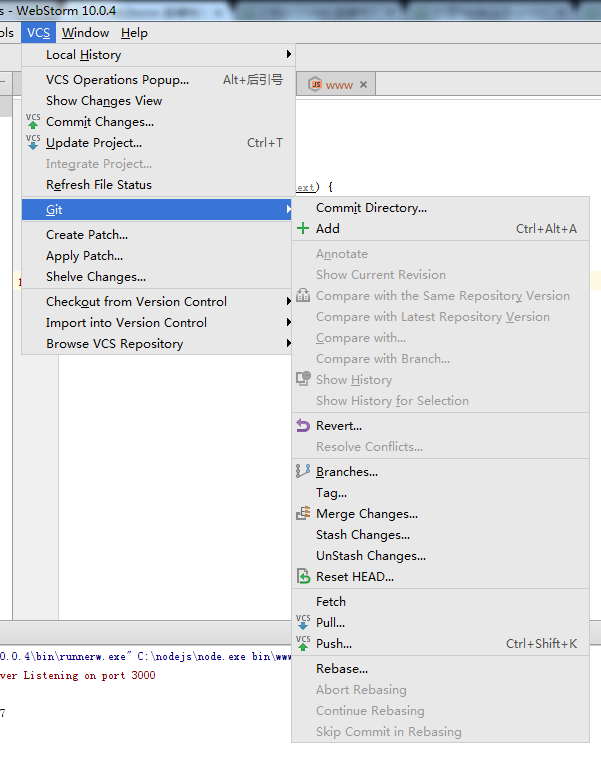
这时就代表这个项目已经可以使用Git版本控制了。我们再点击VCS就可以看见Git菜单了。
首先我们先右击项目 选择`Git->add`,将项目中的文件 加入到git add 中等待本地提交。
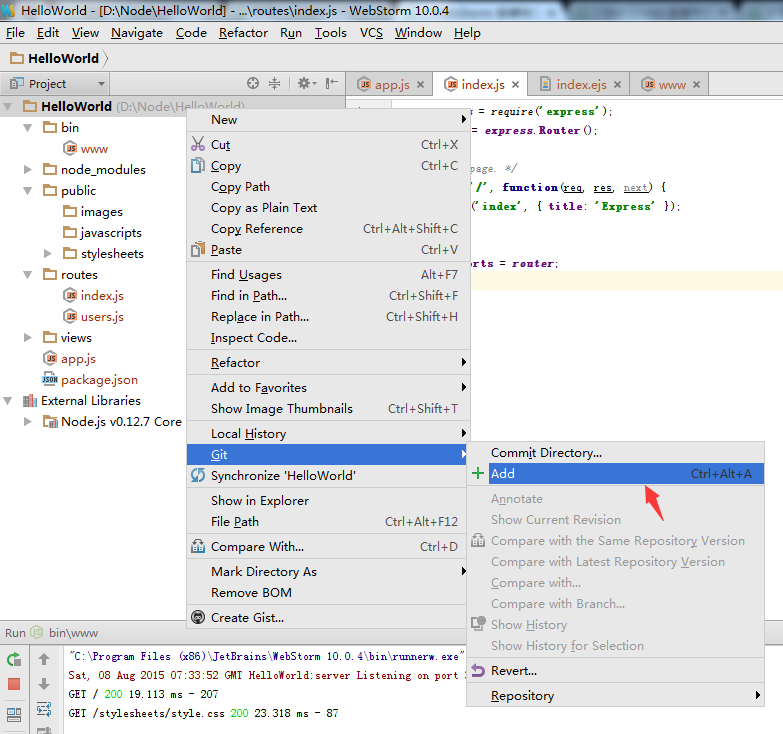
add 后文件都会由`橙色`变成 `绿色`
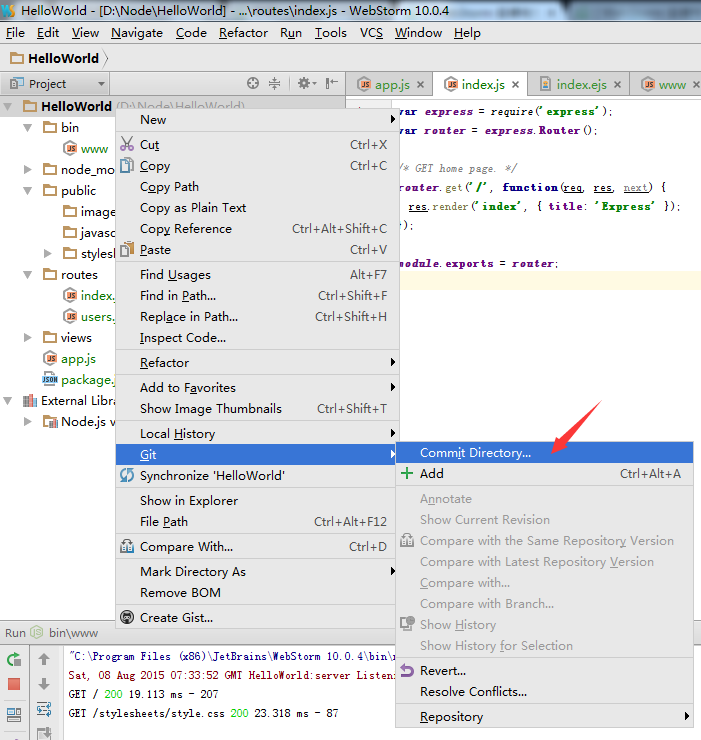
下一步本地提交代码,右击项目,选择 `Git->Commit`
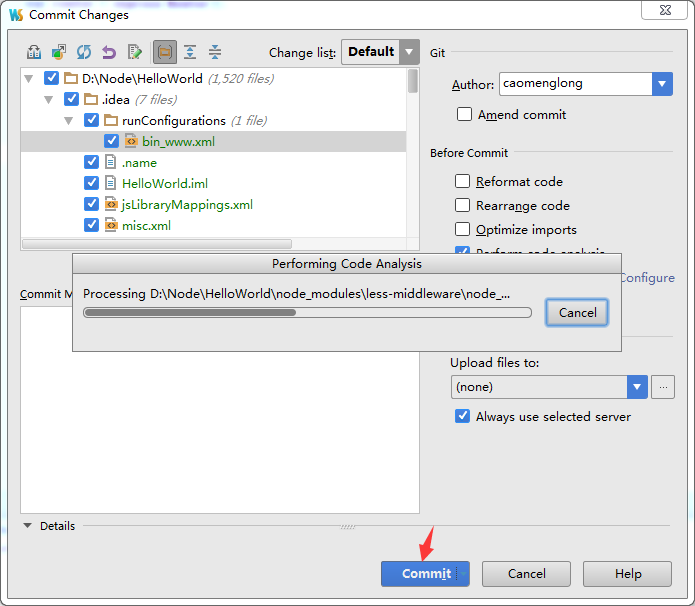
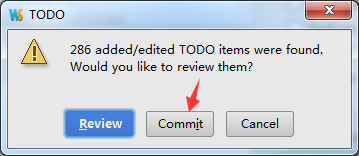
点击Commit是会出现 `Performing Code Analysis `提示,有时候会很慢,这个功能是它对代码进行分析,查找错误,并提醒你是否修改。
每次提交前都要查询一次,很麻烦,可以关闭该功能。

取消`Performing Code Analysis `复选框即可。
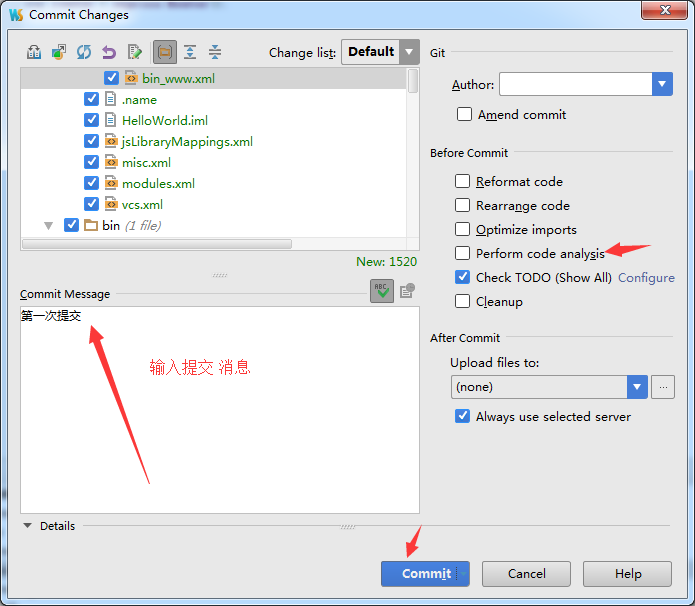
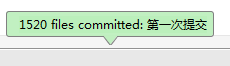
这时本地提交成功,可以看见颜色 从 `绿色` 变成 了 `黑色`
* * * * *
### **将代码push到远程 git 仓库**
代码Pull 远程前,必须先要进行本地Commit完毕。
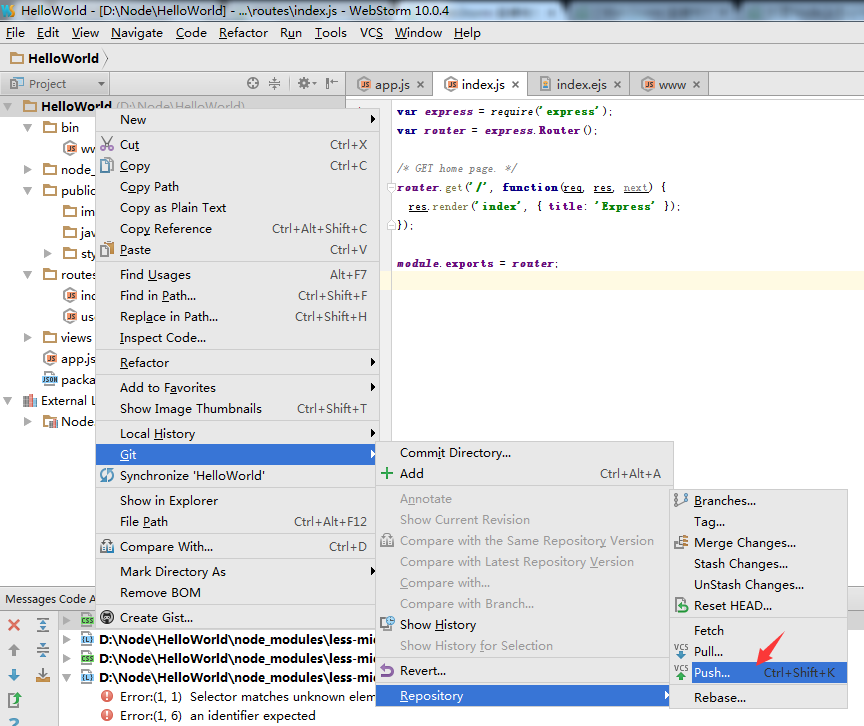
右击项目 `Git-> Repository -> Push`
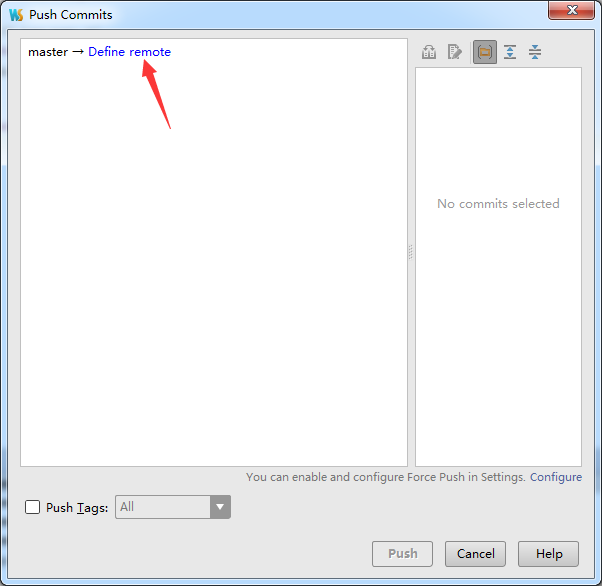
点击` Define remote` 设置一个远程Git 仓库
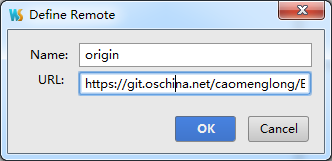
URL 输入 之前准备的 Git https://git.oschina.net/caomenglong/ExpressDemo.git
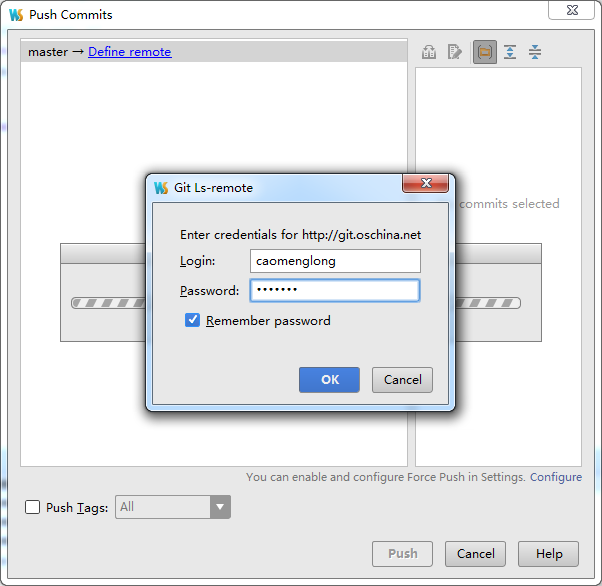
输入 Git@OSC 账号密码。
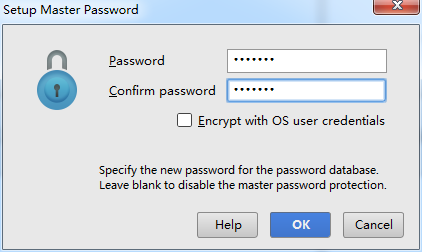
再输入二次密码
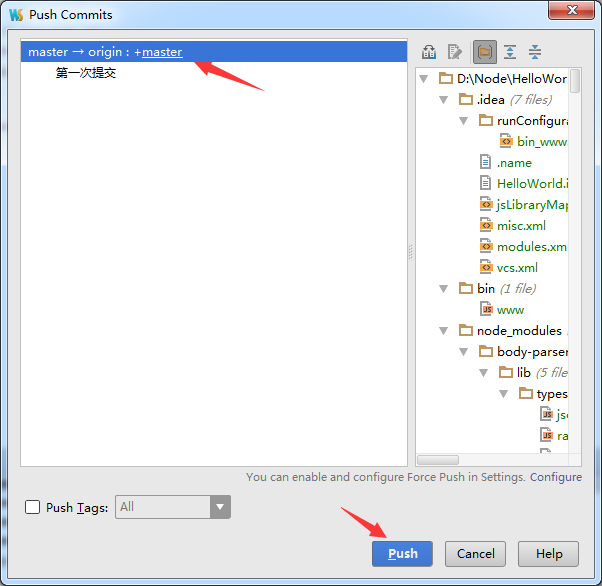
远程Git设置成功,点击Push 就可以了!

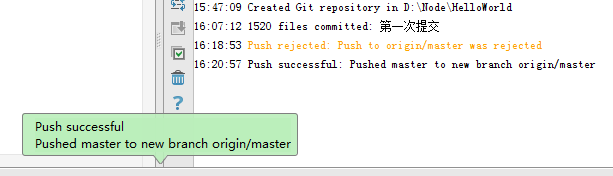
`Push successful ` 代码Push成功!
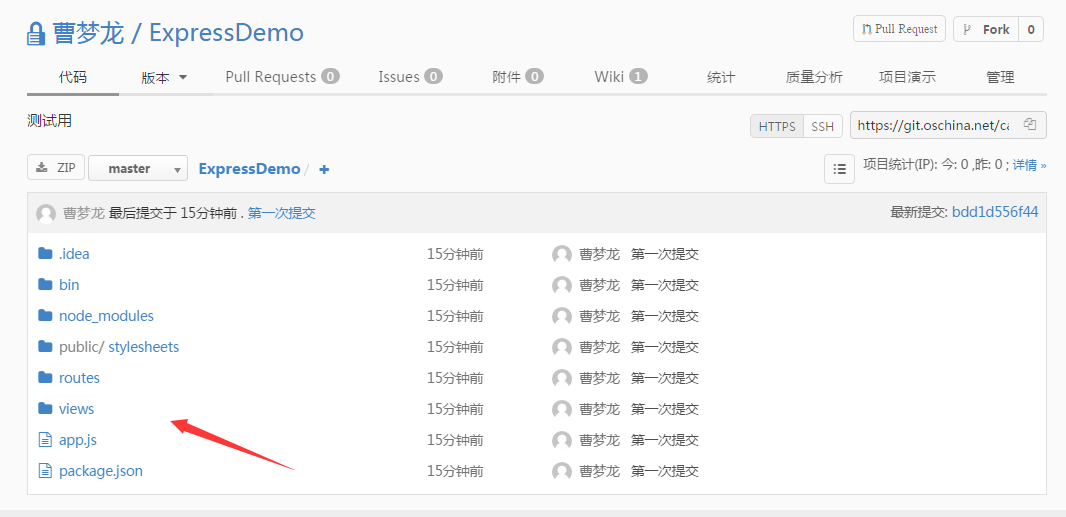
到这里我们就完成了 项目代码发布到Git中了!
感谢观看