NVIDIA Jetson TK1学习与开发(七):图文详解OpenCV在Jetson TK1上的安装和使用
最后更新于:2022-04-01 16:04:12
## 图文详解OpenCV在Jetson TK1上的安装和使用
本文介绍如何在Jetson TK1上安装并且使用OpenCV,并给出了示例,供大家参考学习。
### 1、Jetson TK1平台的OpenCV优化包下载
下载地址:[https://developer.nvidia.com/linux-tegra-rel-19](https://developer.nvidia.com/linux-tegra-rel-19)(需要注册才可以下载)
如下图所示
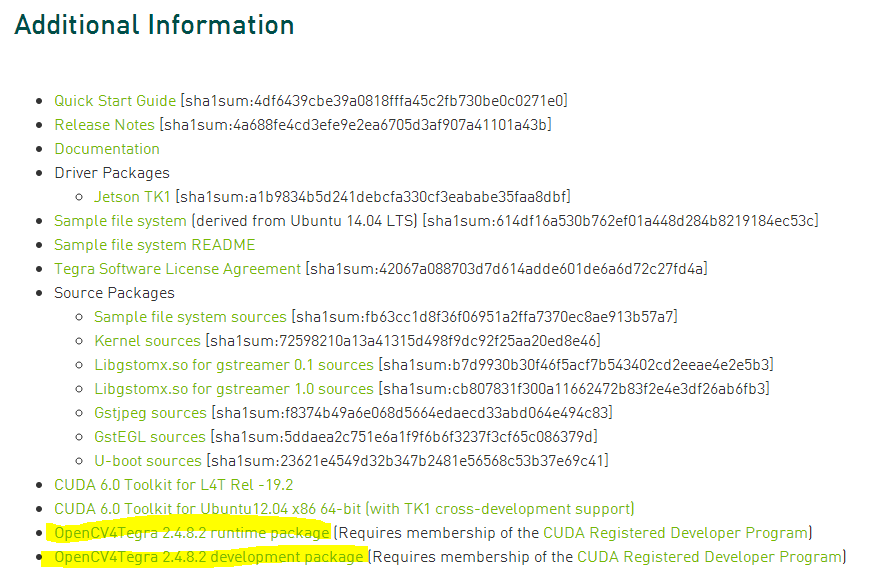
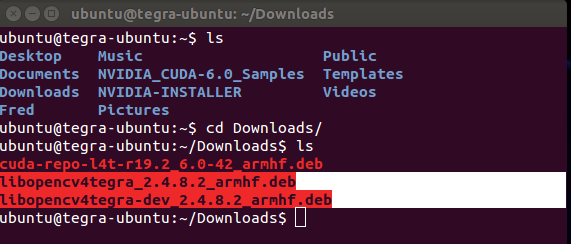
下载后拷贝到TK1平台中,如下图所示

### 2、使能通用存储库和更新apt-get


~~~
sudo apt-add-repository universe
sudo apt-get update
~~~
### 3、安装OpenCV优化包


~~~
sudo dpkg -i libopencv4tegra_2.4.8.2_armhf.deb
sudo dpkg -i libopencv4tegra-dev_2.4.8.2_armhf.deb
~~~
### 4、安装一些函数库


~~~
# Some general development libraries
sudo apt-get install build-essential make cmake cmake-curses-gui g++
# libav video input/output development libraries
sudo apt-get install libavformat-dev libavutil-dev libswscale-dev
# Video4Linux camera development libraries
sudo apt-get install libv4l-dev
# Eigen3 math development libraries
sudo apt-get install libeigen3-dev
# OpenGL development libraries (to allow creating graphical windows)
sudo apt-get install libglew1.6-dev
# GTK development libraries (to allow creating graphical windows)
sudo apt-get install libgtk2.0-dev
~~~
### 5、下载OpenCV源码
下载地址:[http://opencv.org/](http://opencv.org/)(注意选择OpenCV for Linux/Mac)
或者在TK1平台上直接下载,方法是:
~~~
wget http://downloads.sourceforge.net/project/opencvlibrary/opencv-unix/2.4.9/opencv-2.4.9.zip
~~~
下载成功后见下图:

### 6、解压OpenCV源码,并进行配置


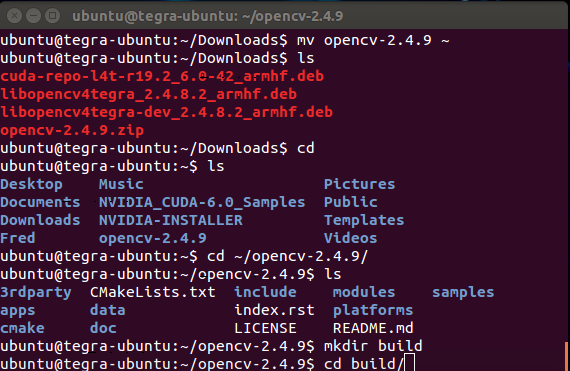
~~~
cd Downloads
unzip opencv-2.4.9.zip
mv opencv-2.4.9 ~
~~~
~~~
cd ~/opencv-2.4.9
mkdir build
cd build
~~~
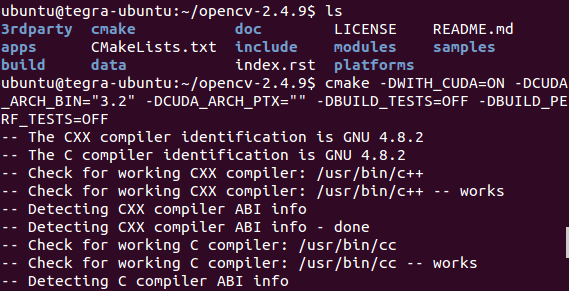
~~~
cmake -DWITH_CUDA=ON -DCUDA_ARCH_BIN="3.2" -DCUDA_ARCH_PTX="" -DBUILD_TESTS=OFF -DBUILD_PERF_TESTS=OFF
~~~
自己也可以根据需要进行配置(If you want to customize any more of the build settings such as whether to support Firewire cameras or Qt GUI, it is easiest to use the curses interactive version of CMake from here on:):
~~~
ccmake ..
~~~
### 7、 build & install OpenCV using a single command
Now you should be ready to build OpenCV and then install it. Unfortunately, OpenCV is currently experiencing a problem with CMake where installing the built libraries (that normally takes a few seconds) re-compiles the whole OpenCV (that normally takes close to an hour). So to save time, instead of running "make -j4 ; make install", we will build & install OpenCV using a single command.
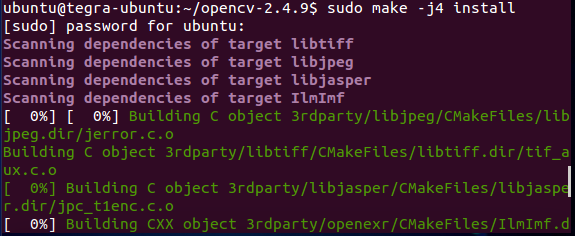
To build & install the OpenCV library using all 4 Tegra CPU cores (takes around 40 minutes), including copying the OpenCV library to "/usr/local/include" and "/usr/local/lib":
~~~
sudo make -j4 install
~~~
### 8、make sure your system searches the "/usr/local/lib" folder for libraries
Finally, make sure your system searches the "/usr/local/lib" folder for libraries:
~~~
echo "# Use OpenCV and other custom-built libraries." >> ~/.bashrc
echo "export LD_LIBRARY_PATH=$LD_LIBRARY_PATH:/usr/local/lib/" >> ~/.bashrc
source ~/.bashrc
~~~


### 9、测试OpenCV并运行几个例子
~~~
# Make sure we have installed a C++ compiler.
sudo apt-get install build-essential g++
~~~

### 第一个示例:
~~~
# Test a simple OpenCV program. Creates a graphical window, hence you should plug a HDMI monitor in or use a remote viewer such as X Tunneling or VNC or TeamViewer on your desktop.
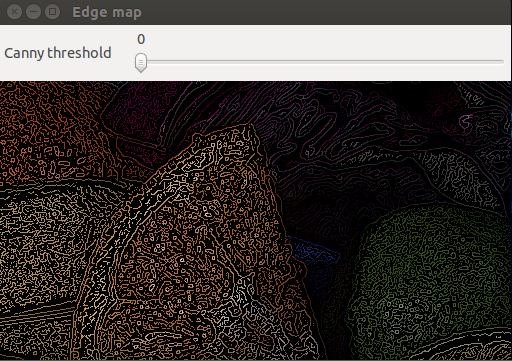
cd ~/opencv-2.4.9/samples/cpp
g++ edge.cpp -lopencv_core -lopencv_imgproc -lopencv_highgui -o edge
./edge
~~~

### 第二个示例:
~~~
# If you have a USB webcam plugged in to your board, then test one of the live camera programs.
g++ laplace.cpp -lopencv_core -lopencv_imgproc -lopencv_highgui -lopencv_calib3d -lopencv_contrib -lopencv_features2d -lopencv_flann -lopencv_gpu -lopencv_legacy -lopencv_ml -lopencv_objdetect -lopencv_photo -lopencv_stitching -lopencv_superres -lopencv_video -lopencv_videostab -o laplace
./laplace
~~~


(注意:此示例没有演示出来,待解决。。。,错误提示见上图。)
### 第三个示例:
~~~
# Test a GPU accelerated OpenCV sample.
cd ../gpu
g++ houghlines.cpp -lopencv_core -lopencv_imgproc -lopencv_highgui -lopencv_calib3d -lopencv_contrib -lopencv_features2d -lopencv_flann -lopencv_gpu -lopencv_legacy -lopencv_ml -lopencv_objdetect -lopencv_photo -lopencv_stitching -lopencv_superres -lopencv_video -lopencv_videostab -o houghlines
./houghlines ../cpp/logo_in_clutter.png
~~~


CPU与GPU的实验结果如下图:

最终的处理结果见下面的三个图:分别是原图、CPU处理后、GPU处理后的结果。
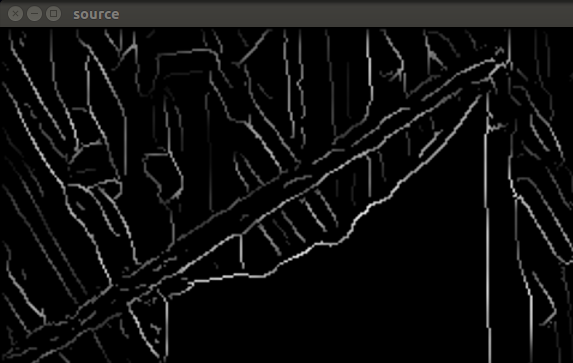
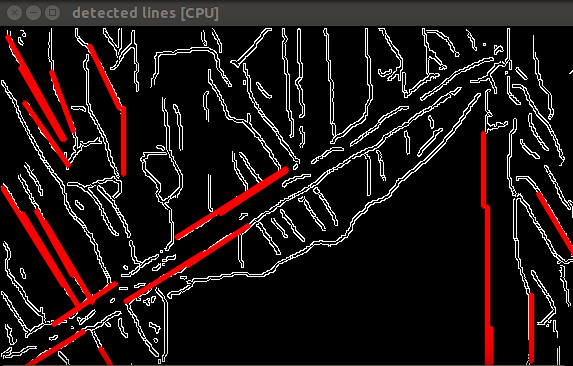
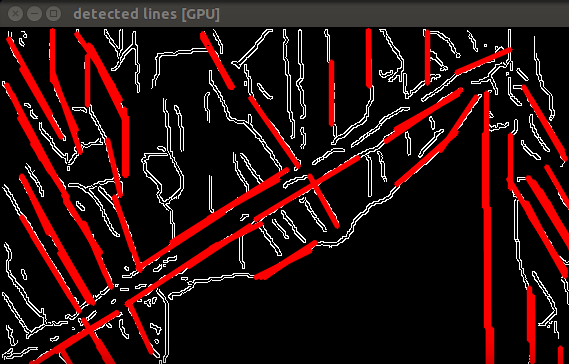
(If the houghlines GPU sample program worked then you have successfully installed OpenCV and its GPU module!)
### 10、更多参考学习资料
[Using OpenCV with gcc and CMake](http://docs.opencv.org/doc/tutorials/introduction/linux_gcc_cmake/linux_gcc_cmake.html)
[official opencv tutorials](http://docs.opencv.org/doc/tutorials/tutorials.html)
[OpenCV Reference Manual PDF file](http://docs.opencv.org/opencv2refman.pdf)