ym—— Android 5.0学习之动画
最后更新于:2022-04-01 09:34:59
**转载请注明本文出自Cym的博客([http://blog.csdn.net/cym492224103](http://blog.csdn.net/cym492224103)**),谢谢支持!**
**
**
前言
用户跟你的App进行交互时,Material Design中的动画给予用户动作的反馈和提供视觉的一致感。
包括之前我学习过的:
[Activity transitions(Activity过渡效果)](http://blog.csdn.net/cym492224103/article/details/41761267)
[Animate Vector Drawables(可绘矢量动画)](http://blog.csdn.net/cym492224103/article/details/41677825)
除我们已经学习过的动画之外,Material Design还给我们提供了什么动画?
Touch feedback(触摸反馈)
Reveal effect(揭露效果)
Curved motion(曲线运动)
View state changes (视图状态改变)
**Touch feedback**(触摸反馈)
当用户与用户界面进行交互时,materialdesign中的触摸反馈在触摸点上提供了一种瞬时视觉确认。按钮的默认触摸反馈动画使用新的[RippleDrawable](http://developer.android.com/reference/android/graphics/drawable/RippleDrawable.html)类,它使用涟漪(波纹)效应在不同状态间转换。
在大多数情况下,你应该在你的布局XML文件中使用如下的方法去指定视图的背景:
?android:attr/selectableItemBackground (有界波纹)
?android:attr/selectableItemBackgroundBorderless (无界波纹)
注意:selectableItemBackgroundBorderless是API级别21上的新属性。
效果如下:

layout:
~~~
<Button android:layout_width="100dp" android:layout_height="100dp"
android:background="?android:attr/selectableItemBackground"
android:text="有界"
android:textColor="@android:color/white"
android:colorControlHighlight="@android:color/holo_red_dark"/>
<Button android:layout_width="100dp" android:layout_height="100dp"
android:background="?android:attr/selectableItemBackgroundBorderless"
android:textColor="@android:color/white"
android:text="无界"/>
~~~
或者,你可以定义一个[RippleDrawable](http://developer.android.com/reference/android/graphics/drawable/RippleDrawable.html)作为波纹元素的XML资源
~~~
<ripple
xmlns:android="http://schemas.android.com/apk/res/android"
android:color="@color/accent_dark">
<item>
<shape
android:shape="oval">
<solid android:color="?android:colorAccent" />
</shape>
</item>
</ripple>
~~~
你可以给RippleDrawable对象指定一种颜色。要更改默认的触摸反馈颜色,使用主题的android:colorControlHighlight属性**。**
**Reveal effect**(揭示效果)
使用[ViewAnimationUtils.createCircularReveal()](http://developer.android.com/reference/android/view/ViewAnimationUtils.html#createCircularReveal(android.view.View,) 方法

~~~
public Animator createAnimation(View v, Boolean isFirst) {
Animator animator;
if (isFirst) {
animator = ViewAnimationUtils.createCircularReveal(
v,// 操作的视图
0,// 动画开始的中心点X
0,// 动画开始的中心点Y
v.getWidth(),// 动画开始半径
0);// 动画结束半径
} else {
animator = ViewAnimationUtils.createCircularReveal(
v,// 操作的视图
0,// 动画开始的中心点X
0,// 动画开始的中心点Y
0,// 动画开始半径
v.getWidth());// 动画结束半径
}
animator.setInterpolator(new DecelerateInterpolator());
animator.setDuration(500);
return animator;
}
static boolean isFirst = false;
@Override
public void onClick(View v) {
createAnimation(myView, isFirst).start();
isFirst = !isFirst;
}
~~~
**Curved motion**(曲线运动)
Material design中的动画依靠曲线,这个曲线适用于时间插值器和控件运动模式。
[PathInterpolator](http://developer.android.com/reference/android/view/animation/PathInterpolator.html)类是一个基于贝塞尔曲线(Bézier curve)或路径([Path](http://developer.android.com/reference/android/graphics/Path.html))对象上的新的插值器。
在materialdesign规范中,系统提供了三个基本的曲线:
@interpolator/fast_out_linear_in.xml
@interpolator/fast_out_slow_in.xml
@interpolator/linear_out_slow_in.xml
你可以传递一个[PathInterpolator](http://developer.android.com/reference/android/view/animation/PathInterpolator.html)对象给[Animator.setInterpolator()](http://developer.android.com/reference/android/animation/Animator.html#setInterpolator(android.animation.TimeInterpolator))方法。
[ObjectAnimator](http://developer.android.com/reference/android/animation/ObjectAnimator.html)类有了新的构造方法,使你能够一次能同时使用两个或多个属性去绘制动画的路径。例如,下面的动画使用一个Path对象进行视图X和Y属性的动画绘制:
~~~
ObjectAnimator mAnimator;
mAnimator = ObjectAnimator.ofFloat(view, View.X, View.Y, path);
...
mAnimator.start();
~~~
在Android 5.0 提供的API Demos -》Animation/Path Animations 就有一个例子使用了曲线动画:

Path Animations 源码:
~~~
/*
* Copyright (C) 2013 The Android Open Source Project
*
* Licensed under the Apache License, Version 2.0 (the "License");
* you may not use this file except in compliance with the License.
* You may obtain a copy of the License at
*
* http://www.apache.org/licenses/LICENSE-2.0
*
* Unless required by applicable law or agreed to in writing, software
* distributed under the License is distributed on an "AS IS" BASIS,
* WITHOUT WARRANTIES OR CONDITIONS OF ANY KIND, either express or implied.
* See the License for the specific language governing permissions and
* limitations under the License.
*/
package com.example.android.apis.animation;
import android.animation.ObjectAnimator;
import android.animation.TypeConverter;
import android.animation.ValueAnimator;
import android.app.Activity;
import android.content.Context;
import android.graphics.Canvas;
import android.graphics.Matrix;
import android.graphics.Paint;
import android.graphics.Path;
import android.graphics.Point;
import android.graphics.PointF;
import android.graphics.RectF;
import android.os.Bundle;
import android.util.AttributeSet;
import android.util.FloatMath;
import android.util.Log;
import android.util.Property;
import android.view.View;
import android.view.animation.Animation;
import android.view.animation.LinearInterpolator;
import android.widget.FrameLayout;
import android.widget.RadioGroup;
import com.example.android.apis.R;
/**This application demonstrates the use of Path animation. */
public class PathAnimations extends Activity implements
RadioGroup.OnCheckedChangeListener, View.OnLayoutChangeListener {
final static Path sTraversalPath = new Path();
final static float TRAVERSE_PATH_SIZE = 7.0f;
final static Property<PathAnimations, Point> POINT_PROPERTY
= new Property<PathAnimations, Point>(Point.class, "point") {
@Override
public Point get(PathAnimations object) {
View v = object.findViewById(R.id.moved_item);
return new Point(Math.round(v.getX()), Math.round(v.getY()));
}
@Override
public void set(PathAnimations object, Point value) {
object.setCoordinates(value.x, value.y);
}
};
static {
float inverse_sqrt8 = FloatMath.sqrt(0.125f);
RectF bounds = new RectF(1, 1, 3, 3);
sTraversalPath.addArc(bounds, 45, 180);
sTraversalPath.addArc(bounds, 225, 180);
bounds.set(1.5f + inverse_sqrt8, 1.5f + inverse_sqrt8, 2.5f + inverse_sqrt8,
2.5f + inverse_sqrt8);
sTraversalPath.addArc(bounds, 45, 180);
sTraversalPath.addArc(bounds, 225, 180);
bounds.set(4, 1, 6, 3);
sTraversalPath.addArc(bounds, 135, -180);
sTraversalPath.addArc(bounds, -45, -180);
bounds.set(4.5f - inverse_sqrt8, 1.5f + inverse_sqrt8, 5.5f - inverse_sqrt8, 2.5f + inverse_sqrt8);
sTraversalPath.addArc(bounds, 135, -180);
sTraversalPath.addArc(bounds, -45, -180);
sTraversalPath.addCircle(3.5f, 3.5f, 0.5f, Path.Direction.CCW);
sTraversalPath.addArc(new RectF(1, 2, 6, 6), 0, 180);
}
private CanvasView mCanvasView;
private ObjectAnimator mAnimator;
/**Called when the activity is first created. */
@Override
public void onCreate(Bundle savedInstanceState) {
super.onCreate(savedInstanceState);
setContentView(R.layout.path_animations);
mCanvasView = (CanvasView) findViewById(R.id.canvas);
mCanvasView.addOnLayoutChangeListener(this);
((RadioGroup) findViewById(R.id.path_animation_type)).setOnCheckedChangeListener(this);
}
public void setCoordinates(int x, int y) {
changeCoordinates((float) x, (float) y);
}
public void changeCoordinates(float x, float y) {
View v = findViewById(R.id.moved_item);
v.setX(x);
v.setY(y);
}
public void setPoint(PointF point) {
changeCoordinates(point.x, point.y);
}
@Override
public void onCheckedChanged(RadioGroup group, int checkedId) {
startAnimator(checkedId);
}
@Override
public void onLayoutChange(View v, int left, int top, int right, int bottom, int oldLeft,
int oldTop, int oldRight, int oldBottom) {
int checkedId = ((RadioGroup)findViewById(R.id.path_animation_type)).getCheckedRadioButtonId();
if (checkedId != RadioGroup.NO_ID) {
startAnimator(checkedId);
}
}
private void startAnimator(int checkedId) {
if (mAnimator != null) {
mAnimator.cancel();
mAnimator = null;
}
View view = findViewById(R.id.moved_item);
Path path = mCanvasView.getPath();
if (path.isEmpty()) {
return;
}
switch (checkedId) {
case R.id.named_components:
// Use the named "x" and "y" properties for individual (x, y)
// coordinates of the Path and set them on the view object.
// The setX(float) and setY(float) methods are called on view.
// An int version of this method also exists for animating
// int Properties.
mAnimator = ObjectAnimator.ofFloat(view, "x", "y", path);
break;
case R.id.property_components:
// Use two Properties for individual (x, y) coordinates of the Path
// and set them on the view object.
// An int version of this method also exists for animating
// int Properties.
mAnimator = ObjectAnimator.ofFloat(view, View.X, View.Y, path);
break;
case R.id.multi_int:
// Use a multi-int setter to animate along a Path. The method
// setCoordinates(int x, int y) is called on this during the animation.
// Either "setCoordinates" or "coordinates" are acceptable parameters
// because the "set" can be implied.
mAnimator = ObjectAnimator.ofMultiInt(this, "setCoordinates", path);
break;
case R.id.multi_float:
// Use a multi-float setter to animate along a Path. The method
// changeCoordinates(float x, float y) is called on this during the animation.
mAnimator = ObjectAnimator.ofMultiFloat(this, "changeCoordinates", path);
break;
case R.id.named_setter:
// Use the named "point" property to animate along the Path.
// There must be a method setPoint(PointF) on the animated object.
// Because setPoint takes a PointF parameter, no TypeConverter is necessary.
// In this case, the animated object is PathAnimations.
mAnimator = ObjectAnimator.ofObject(this, "point", null, path);
break;
case R.id.property_setter:
// Use the POINT_PROPERTY property to animate along the Path.
// POINT_PROPERTY takes a Point, not a PointF, so the TypeConverter
// PointFToPointConverter is necessary.
mAnimator = ObjectAnimator.ofObject(this, POINT_PROPERTY,
new PointFToPointConverter(), path);
break;
}
mAnimator.setDuration(10000);
mAnimator.setRepeatMode(Animation.RESTART);
mAnimator.setRepeatCount(ValueAnimator.INFINITE);
mAnimator.setInterpolator(new LinearInterpolator());
mAnimator.start();
}
public static class CanvasView extends FrameLayout {
Path mPath = new Path();
Paint mPathPaint = new Paint();
public CanvasView(Context context) {
super(context);
init();
}
public CanvasView(Context context, AttributeSet attrs) {
super(context, attrs);
init();
}
public CanvasView(Context context, AttributeSet attrs, int defStyle) {
super(context, attrs, defStyle);
init();
}
private void init() {
setWillNotDraw(false);
mPathPaint.setColor(0xFFFF0000);
mPathPaint.setStrokeWidth(2.0f);
mPathPaint.setStyle(Paint.Style.STROKE);
}
@Override
protected void onLayout(boolean changed, int left, int top, int right, int bottom) {
super.onLayout(changed, left, top, right, bottom);
if (changed) {
Matrix scale = new Matrix();
float scaleWidth = (right-left)/TRAVERSE_PATH_SIZE;
float scaleHeight= (bottom-top)/TRAVERSE_PATH_SIZE;
scale.setScale(scaleWidth, scaleHeight);
sTraversalPath.transform(scale, mPath);
}
}
public Path getPath() {
return mPath;
}
@Override
public void draw(Canvas canvas) {
canvas.drawPath(mPath, mPathPaint);
super.draw(canvas);
}
}
private static class PointFToPointConverter extends TypeConverter<PointF, Point> {
Point mPoint = new Point();
public PointFToPointConverter() {
super(PointF.class, Point.class);
}
@Override
public Point convert(PointF value) {
mPoint.set(Math.round(value.x), Math.round(value.y));
return mPoint;
}
}
}
~~~
layout:
~~~
<?xml version="1.0" encoding="utf-8"?>
<LinearLayout xmlns:android="http://schemas.android.com/apk/res/android"
android:orientation="vertical"
android:layout_width="match_parent"
android:layout_height="match_parent">
<ScrollView android:layout_width="match_parent"
android:layout_height="wrap_content">
<RadioGroup android:orientation="horizontal"
android:layout_width="wrap_content"
android:layout_height="wrap_content"
android:id="@+id/path_animation_type"
>
<RadioButton android:id="@+id/named_components"
android:layout_width="wrap_content"
android:layout_height="wrap_content"
android:text="Named Components"/>
<RadioButton android:id="@+id/property_components"
android:layout_width="wrap_content"
android:layout_height="wrap_content"
android:text="Property Components"/>
<RadioButton android:id="@+id/multi_int"
android:layout_width="wrap_content"
android:layout_height="wrap_content"
android:text="Multi-int"/>
<RadioButton android:id="@+id/multi_float"
android:layout_width="wrap_content"
android:layout_height="wrap_content"
android:text="Multi-float"/>
<RadioButton android:id="@+id/named_setter"
android:layout_width="wrap_content"
android:layout_height="wrap_content"
android:text="Named Property"/>
<RadioButton android:id="@+id/property_setter"
android:layout_width="wrap_content"
android:layout_height="wrap_content"
android:text="Property"/>
</RadioGroup>
</ScrollView>
<view class="com.example.android.apis.animation.PathAnimations$CanvasView"
android:id="@+id/canvas"
android:layout_width="match_parent"
android:layout_height="0px"
android:layout_weight="1">
<ImageView android:id="@+id/moved_item"
android:layout_width="wrap_content"
android:layout_height="wrap_content"
android:src="@drawable/frog"/>
</view>
</LinearLayout>
~~~
**View state changes(视图状态改变)**
[StateListAnimator](http://developer.android.com/reference/android/animation/StateListAnimator.html)类可以让你定义动画集,能在view状态改变时工作。下面的实例显示了如何定义一个XML资源的[StateListAnimator](http://developer.android.com/reference/android/animation/StateListAnimator.html)。
使用步骤
1.定义一个XML资源的[StateListAnimator](http://developer.android.com/reference/android/animation/StateListAnimator.html)
~~~
<?xml version="1.0" encoding="utf-8"?>
<selector xmlns:android="http://schemas.android.com/apk/res/android">
<item android:state_pressed="true">
<set>
<objectAnimator android:propertyName="translationZ"
android:duration="@android:integer/config_shortAnimTime"
android:valueTo="10"
android:valueType="floatType"/>
<objectAnimator android:propertyName="rotationX"
android:duration="@android:integer/config_shortAnimTime"
android:valueTo="360"
android:valueType="floatType"/>
</set>
</item>
<item
android:state_pressed="false"
>
<set>
<objectAnimator android:propertyName="translationZ"
android:duration="10000"
android:valueTo="0"
android:valueType="floatType"/>
<objectAnimator android:propertyName="rotationX"
android:duration="@android:integer/config_shortAnimTime"
android:valueTo="0"
android:valueType="floatType"/>
</set>
</item>
</selector>
~~~
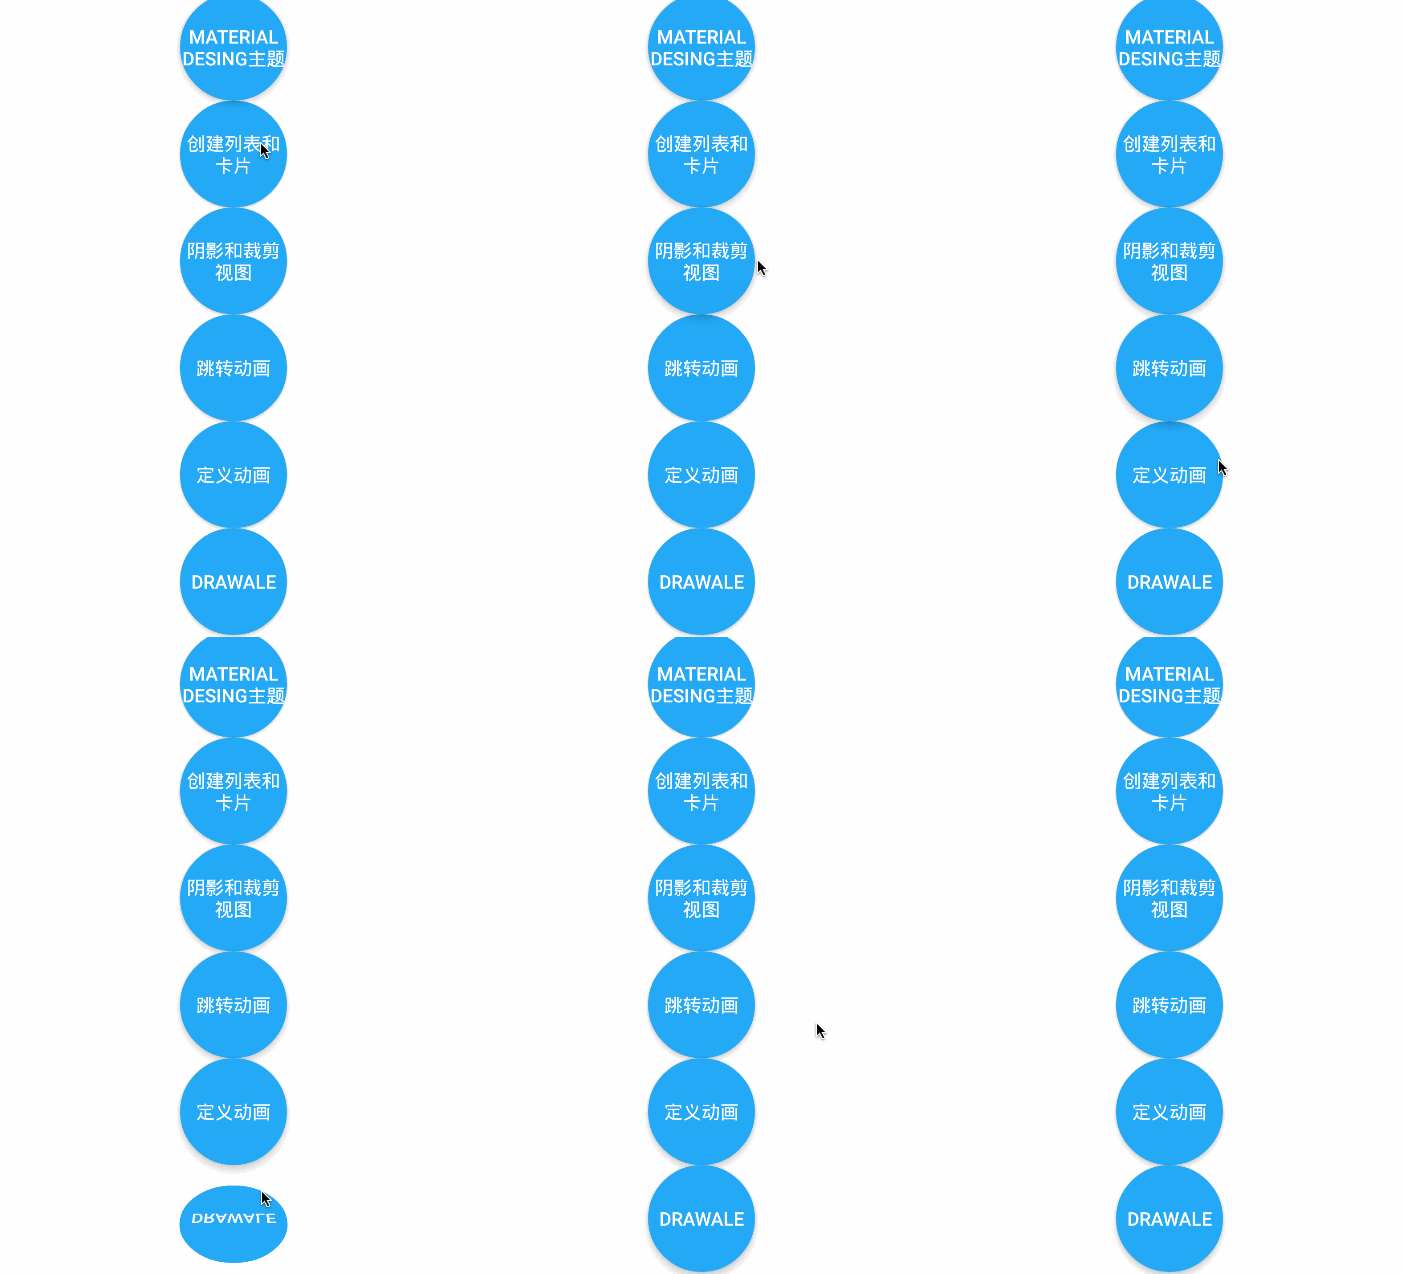
定义了翻转的效果的xml,
配置两种方式:
1.layout:android:stateListAnimator属性将其分配给你的视图,
2.代码:使用[AnimationInflater.loadStateListAnimator()](http://developer.android.com/reference/android/animation/AnimatorInflater.html#loadStateListAnimator(android.content.Context,)方法,并且通过[View.setStateListAnimator()](http://developer.android.com/reference/android/view/View.html#setStateListAnimator(android.animation.StateListAnimator))方法分配动画到你的视图上。
效果如下:

当然动画任你自己定义,如果只定义Z轴的话也可以轻松的实现此效果:

[AnimatedStateListDrawable](http://developer.android.com/reference/android/graphics/drawable/AnimatedStateListDrawable.html)类让你去创建drawable资源,该资源在相关联的视图的状态更改时展示动画。一些Android5.0中的系统控件使用这些默认的动画。下面的例子显示了如何定义一个[AnimatedStateListDrawable](http://developer.android.com/reference/android/graphics/drawable/AnimatedStateListDrawable.html)作为XML资源:
~~~
<!-- res/drawable/myanimstatedrawable.xml -->
<animated-selector
xmlns:android="http://schemas.android.com/apk/res/android">
<!-- provide a different drawable for each state-->
<item android:id="@+id/pressed" android:drawable="@drawable/drawableP"
android:state_pressed="true"/>
<item android:id="@+id/focused" android:drawable="@drawable/drawableF"
android:state_focused="true"/>
<item android:id="@id/default"
android:drawable="@drawable/drawableD"/>
<!-- specify a transition -->
<transition android:fromId="@+id/default" android:toId="@+id/pressed">
<animation-list>
<item android:duration="15" android:drawable="@drawable/dt1"/>
<item android:duration="15" android:drawable="@drawable/dt2"/>
...
</animation-list>
</transition>
...
</animated-selector>
~~~