wxPython:进度条Gauge介绍
最后更新于:2022-04-01 19:41:46
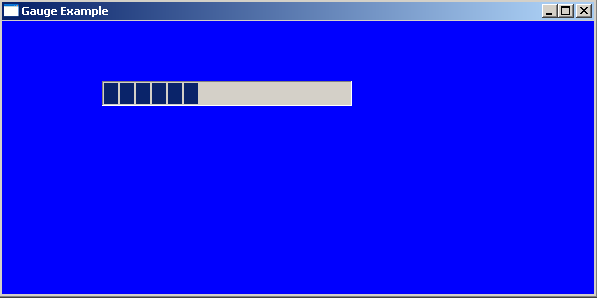
本节介绍进度条的使用,先看代码:
~~~
#!/usr/bin/env python
# -*- coding: utf-8 -*-
import wx
'''
Function:绘图
Input:NONE
Output: NONE
author: socrates
blog:http://www.cnblogs.com/dyx1024/
date:2012-07-22
'''
class GuageFrame(wx.Frame):
def __init__(self):
wx.Frame.__init__(self, None, -1, 'Gauge Example', size = (600, 300))
panel = wx.Panel(self, -1)
panel.SetBackgroundColour("white")
self.count = 0
self.gauge = wx.Gauge(panel, -1, 100, (100, 60), (250, 25), style = wx.GA_PROGRESSBAR)
self.gauge.SetBezelFace(3)
self.gauge.SetShadowWidth(3)
self.Bind(wx.EVT_IDLE, self.OnIdle)
def OnIdle(self, event):
self.count = self.count + 1
if self.count >= 80:
self.count = 0
self.gauge.SetValue(self.count)
if __name__ == '__main__':
app = wx.PySimpleApp()
frame = GuageFrame()
frame.Show()
app.MainLoop()
~~~
测试:

知识点介绍:
原型:
bool Create([wxWindow](http://www.cnblogs.com/dyx1024/admin/)* parent, wxWindowID id, int range, const [wxPoint](http://www.cnblogs.com/dyx1024/admin/)& pos = wxDefaultPosition, const [wxSize](http://www.cnblogs.com/dyx1024/admin/)& size = wxDefaultSize, long style = wxGA_HORIZONTAL, const [wxValidator](http://www.cnblogs.com/dyx1024/admin/)& validator = wxDefaultValidator, const [wxString](http://www.cnblogs.com/dyx1024/admin/)& name = "gauge")
方法:
- wxGauge::wxGauge
- wxGauge::~wxGauge
- wxGauge::Create
- wxGauge::GetBezelFace
- wxGauge::GetRange
- wxGauge::GetShadowWidth
- wxGauge::GetValue
- wxGauge::IsVertical
- wxGauge::SetBezelFace
- wxGauge::SetRange
- wxGauge::SetShadowWidth
- wxGauge::SetValue
- wxGauge::Pulse
';