第八步:React路由(服务端)
最后更新于:2022-04-01 03:19:19
## 第八步:React路由(服务端)
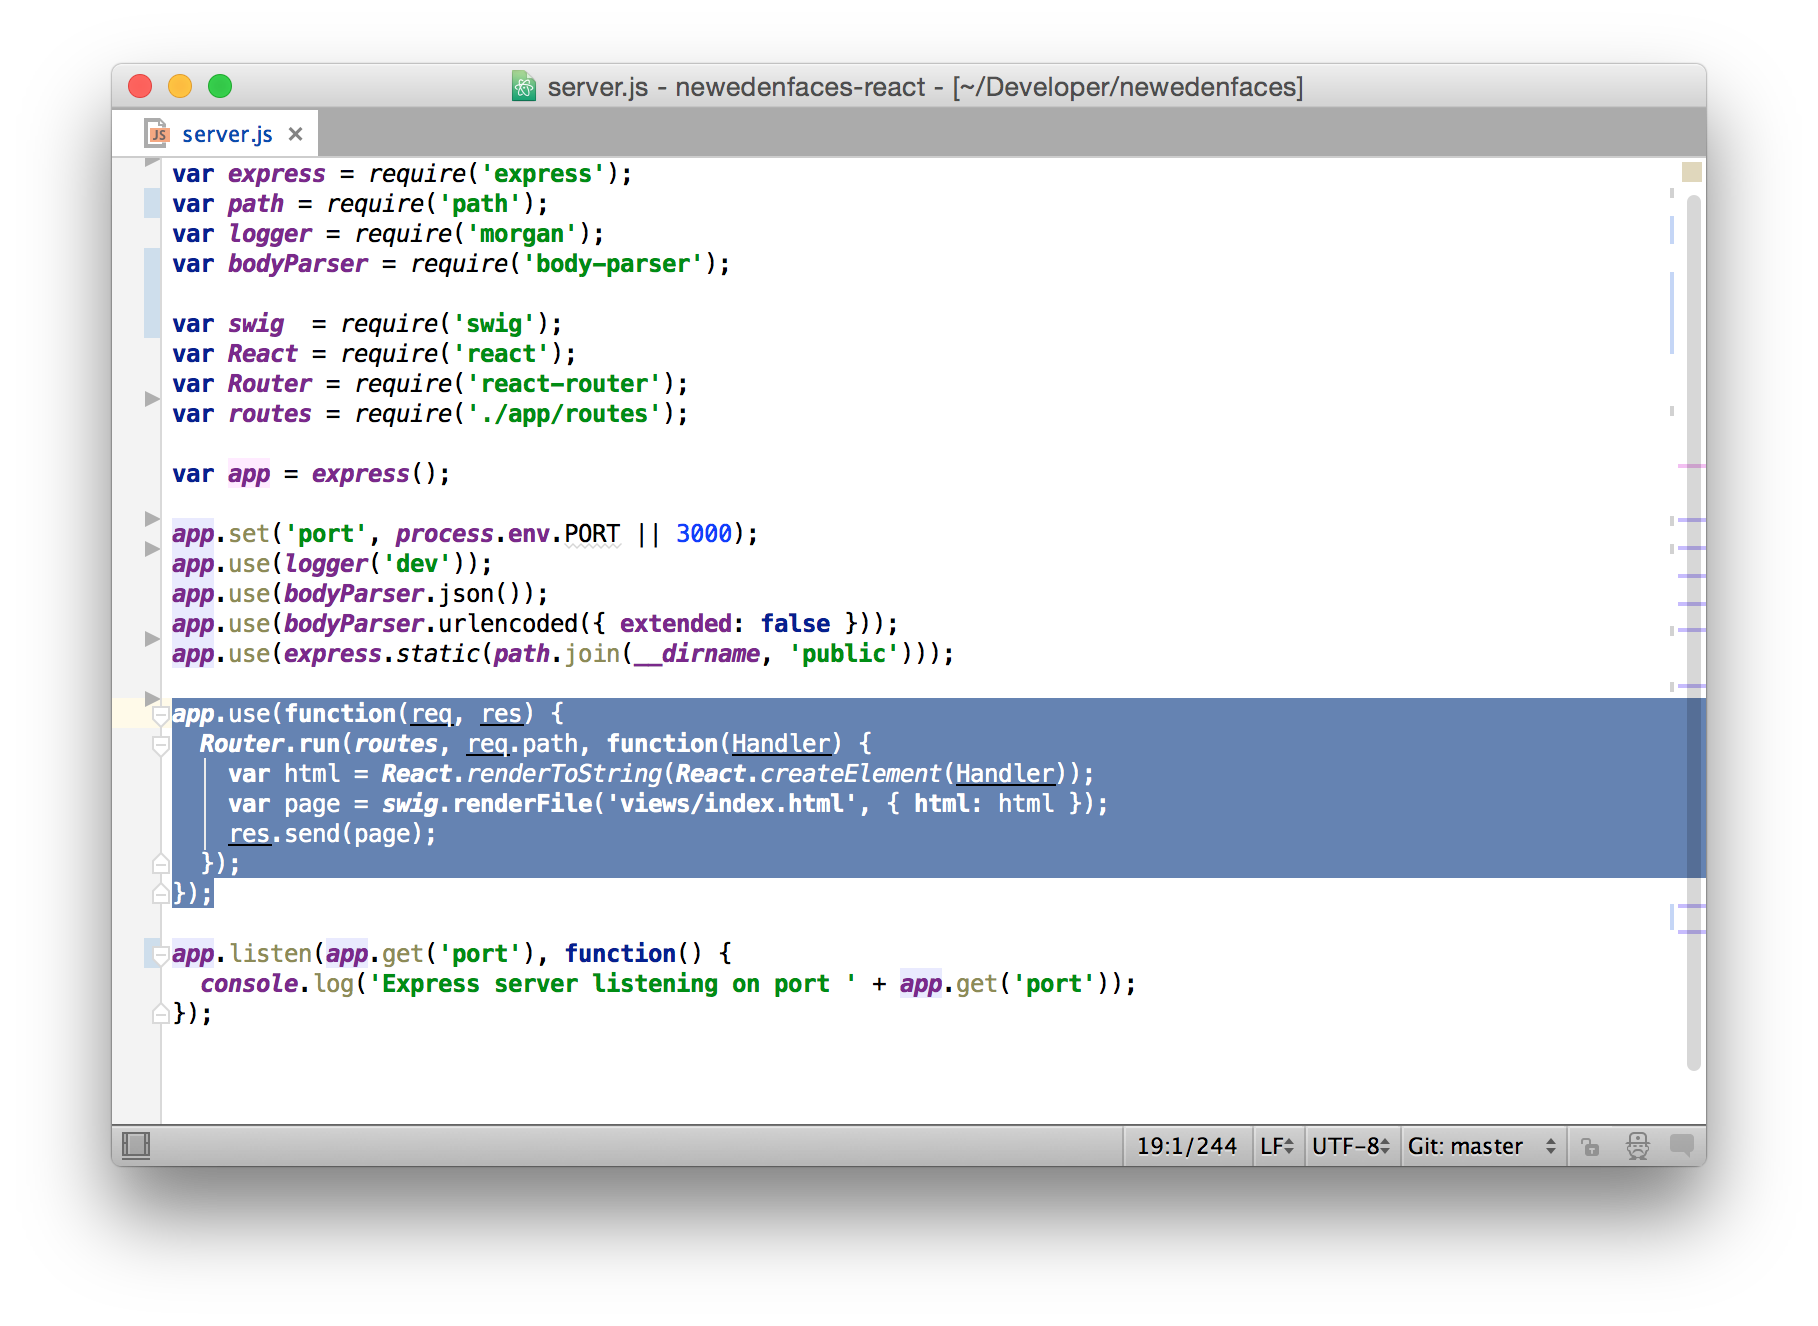
打开*server.js*并将下面的代码粘贴到文件最前面,我们需要导入这些模块:
~~~
var swig = require('swig');
var React = require('react');
var Router = require('react-router');
var routes = require('./app/routes');
~~~
然后,将下面的中间件也加入到*server.js*中去,放在现有的Express中间件之后。
~~~
app.use(function(req, res) {
Router.run(routes, req.path, function(Handler) {
var html = React.renderToString(React.createElement(Handler));
var page = swig.renderFile('views/index.html', { html: html });
res.send(page);
});
});
~~~

这个中间件在每次请求时都会执行。这里server.js中的`Router.run`和main.js中`Router.run`的主要区别是应用是如何渲染的。
在客户端,渲染完成的HTML标记将被插入到`<div id="app"></div>`,在服务器端,渲染完成的HTML标记被发到index.html模板,然后被[Swig](http://paularmstrong.github.io/swig/)模板引擎插入到`<div id="app">{{ html|safe }}</div>`中,我选择Swig是因为我想尝试下[Jade](http://jade-lang.com/)和[Handlerbars](http://handlebarsjs.com/)之外的选择。
但我们真的需要一个独立的模板吗?为什么不直接将内容渲染到App组件呢?是的,你可以这么做,只要你能接受[违反W3C规范](https://validator.w3.org/)的HMTL标记,以及不能在组件中直接包含内嵌的script标签,比如Google Analytics。不过即便这么说,好像现在不规范的HMTL标记也不再和SEO相关了,也有一些[绕过的办法](https://github.com/hzdg/react-google-analytics/blob/master/src/index.coffee)来包含内嵌script标签,所以要怎么做看你咯,不过为了这个教程的目的,让我们还是使用Swig模板引擎吧。
在项目根目录新建目录views,进入目录并新建文件*index.html*:
~~~
<!DOCTYPE html>
<html>
<head>
<meta charset="utf-8"/>
<meta http-equiv="X-UA-Compatible" content="IE=edge"/>
<meta name="viewport" content="width=device-width, initial-scale=1"/>
<title>New Eden Faces</title>
<link rel="stylesheet" href="https://fonts.googleapis.com/css?family=Source+Sans+Pro:300,400,600,700,900"/>
<link rel="stylesheet" href="/css/main.css"/>
</head>
<body>
<div id="app">{{ html|safe }}</div>
<script src="/js/vendor.js"></script>
<script src="/js/vendor.bundle.js"></script>
<script src="/js/bundle.js"></script>
</body>
</html>
~~~
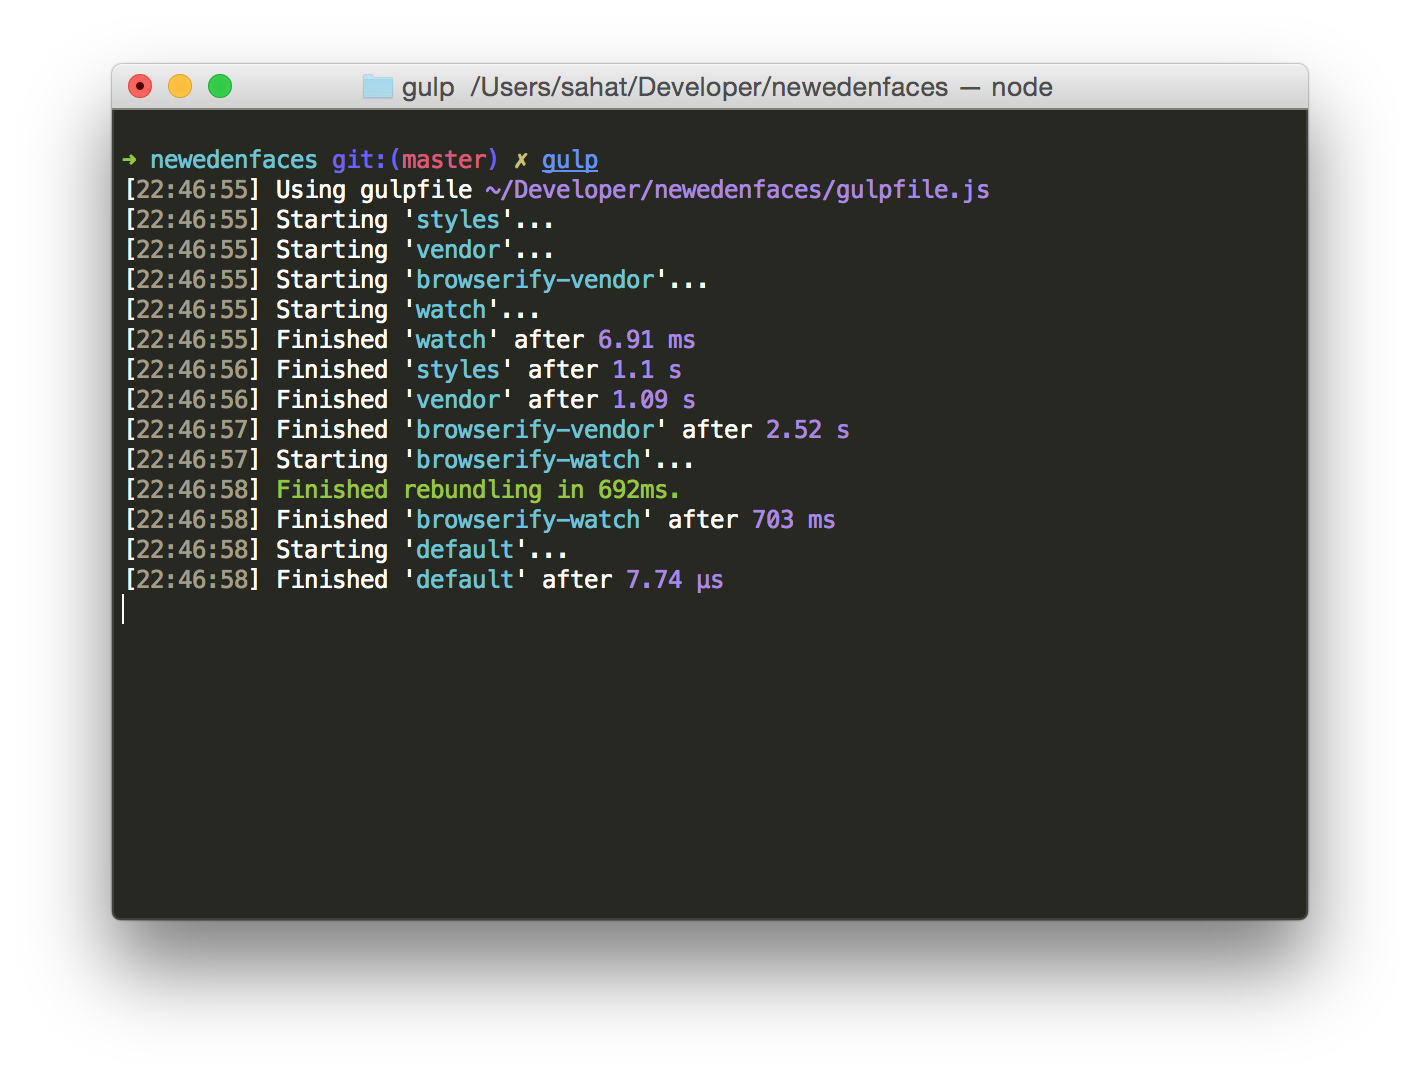
打开两个终端界面并进入根目录,在其中一个运行`gulp`,连接依赖文件、编译LESS样式并监视你的文件变化:

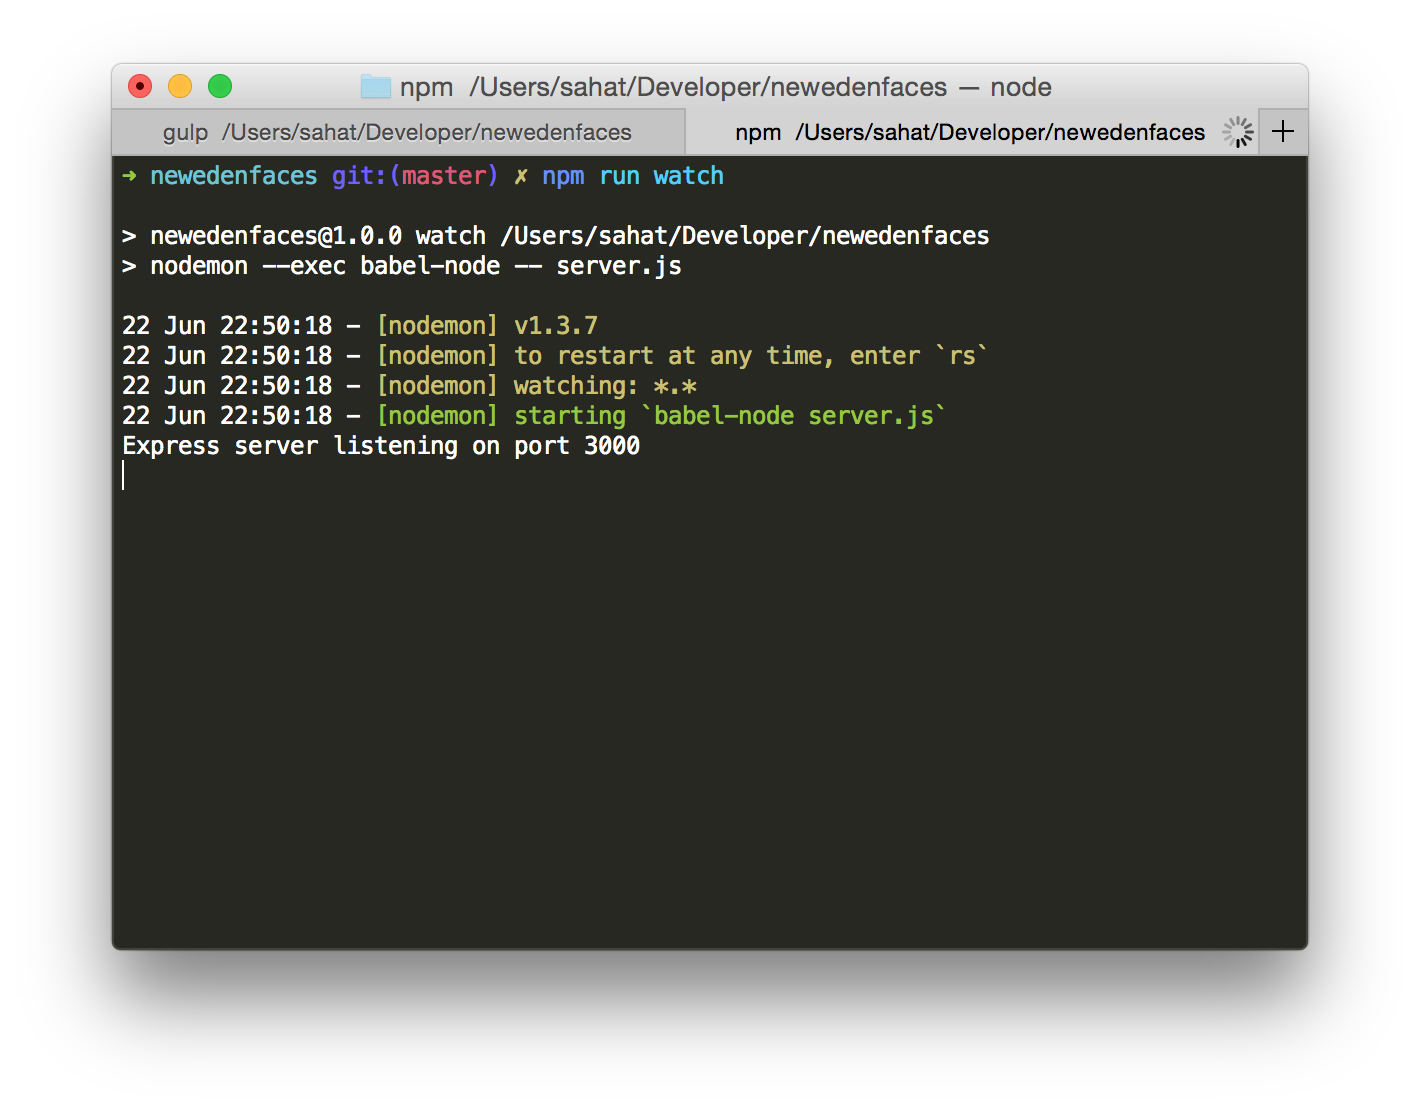
在另一个界面运行`npm run watch`来启动Node.js服务器并在文件变动时自动重启服务器:

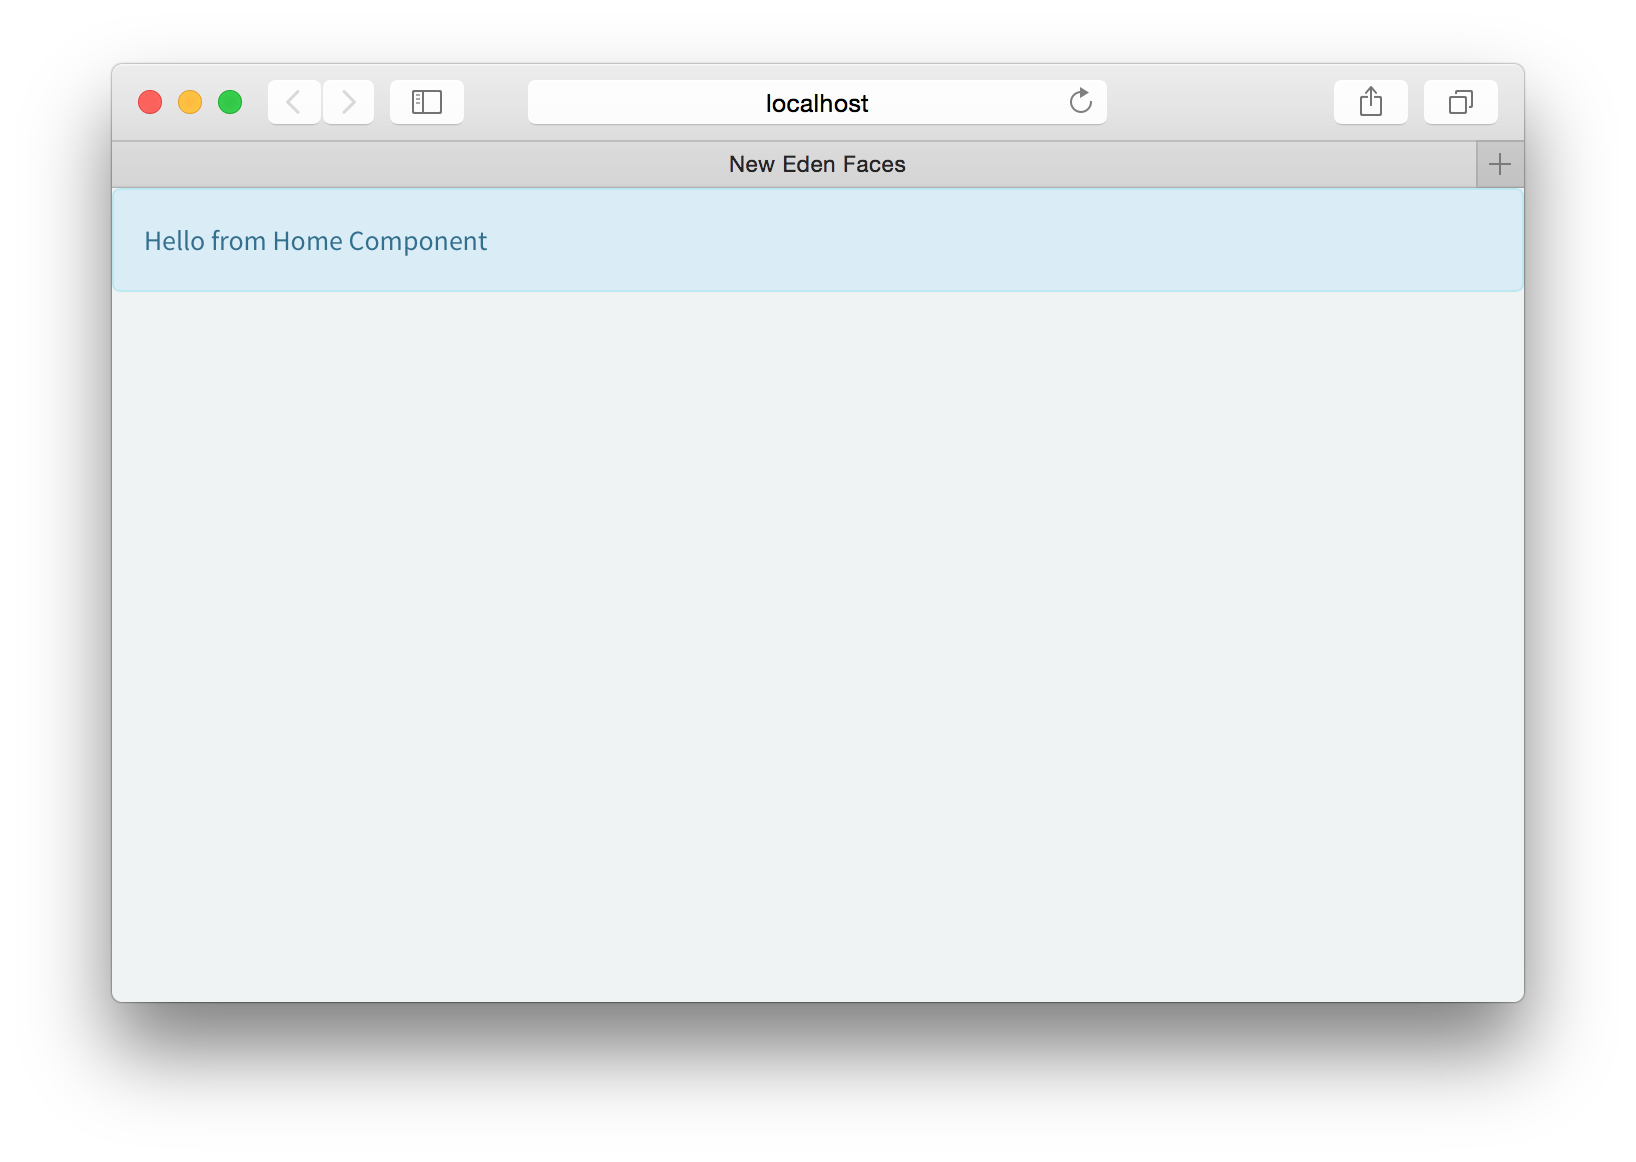
在浏览器打开[http://localhost:3000](http://localhost:3000/),现在你应该能看到React应用成功渲染了。

我们坚持到现在,做了大量的工作,结果就给我们显示了一个提示信息!不过还好,最艰难的部分已经结束了,从现在开始我们可以轻松一点,专注到创建React组件并实现REST API端点。
上面的两个命令`gulp`和`npm run watch`将为我们完成脏活累活,我们不用在添加React组件后的重新编译和Express服务器重启上费心啦。