第一步:新建Express项目
最后更新于:2022-04-01 03:19:03
## 第一步:新建Express项目
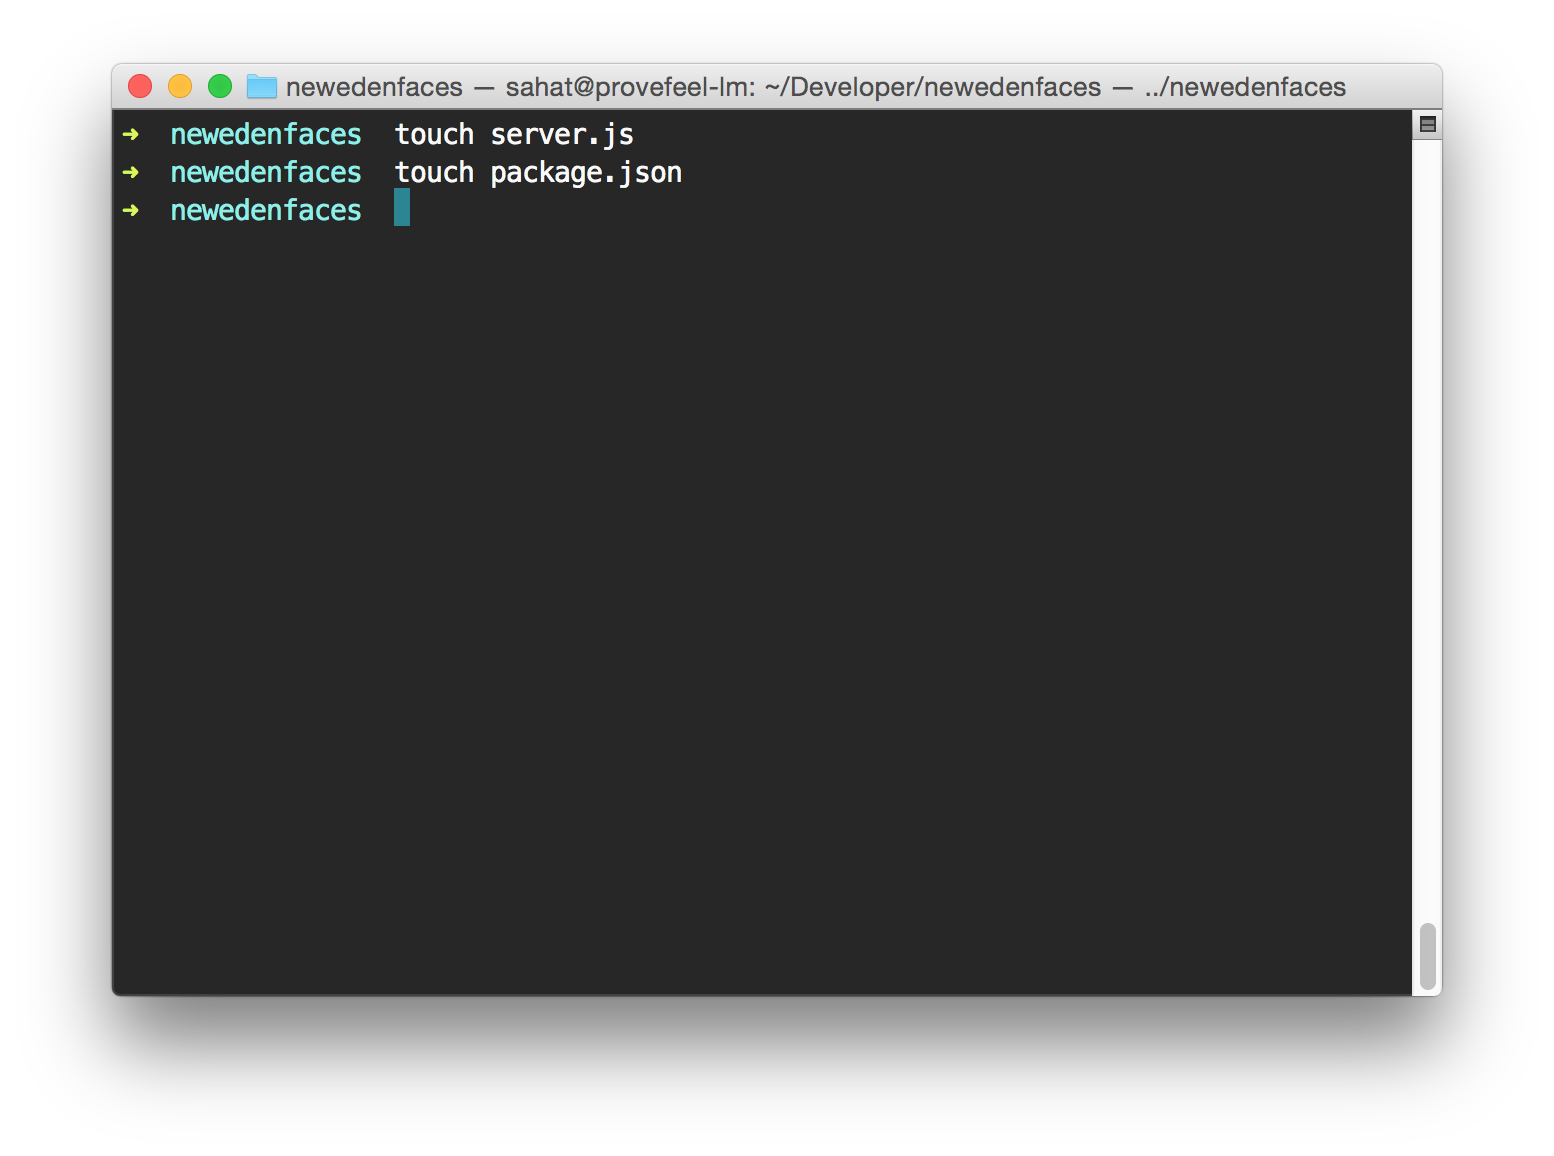
创建一个新目录newedenfaces,进入目录并创建两个空文件 *package.json*和*server.js*:

注:我的OS X终端使用了[Monokai](https://github.com/stephenway/monokai.terminal)主题和[oh-my-fish](https://github.com/oh-my-fish/oh-my-fish)框架以提供[Fish](http://fishshell.com/) shell.
打开*package.json*并粘贴下面的代码:
~~~
{
"name": "newedenfaces",
"description": "Character voting app for EVE Online",
"version": "1.0.0",
"repository": {
"type": "git",
"url": "https://github.com/sahat/newedenfaces-react"
},
"main": "server.js",
"scripts": {
"start": "babel-node server.js",
"watch": "nodemon --exec babel-node -- server.js"
},
"dependencies": {
"alt": "^0.17.1",
"async": "^1.4.0",
"babel": "^5.6.23",
"body-parser": "^1.13.2",
"colors": "^1.1.2",
"compression": "^1.5.1",
"express": "^4.13.1",
"mongoose": "^4.0.7",
"morgan": "^1.6.1",
"react": "^0.13.3",
"react-router": "^0.13.3",
"request": "^2.58.0",
"serve-favicon": "^2.3.0",
"socket.io": "^1.3.6",
"swig": "^1.4.2",
"underscore": "^1.8.3",
"xml2js": "^0.4.9"
},
"devDependencies": {
"babelify": "^6.1.3",
"bower": "^1.4.1",
"browserify": "^11.0.0",
"gulp": "^3.9.0",
"gulp-autoprefixer": "^2.3.1",
"gulp-concat": "^2.6.0",
"gulp-cssmin": "^0.1.7",
"gulp-if": "^1.2.5",
"gulp-less": "^3.0.3",
"gulp-plumber": "^1.0.1",
"gulp-streamify": "0.0.5",
"gulp-uglify": "^1.2.0",
"gulp-util": "^3.0.6",
"vinyl-source-stream": "^1.1.0",
"watchify": "^3.3.0"
},
"license": "MIT"
}
~~~
这是我们的应用所需要的所有依赖包,简要介绍如下:
| 包名称 | 描述 |
| --- | --- |
| [alt](https://github.com/goatslacker/alt) | React的Flux实现 |
| [async](https://github.com/caolan/async) | 异步流程控制 |
| [babel](http://babeljs.io/) | ES6转换为ES5 |
| [body-parser](https://github.com/expressjs/body-parser) | 渲染POST请求数据 |
| [colors](https://github.com/marak/colors.js/) | 美化控制台输出结果 |
| [compression](https://github.com/expressjs/compression) | Gzip压缩 |
| [express](http://expressjs.com/) | Node.js Web框架 |
| [mongoose](http://mongoosejs.com/) | MongoDB ODM |
| [morgan](https://github.com/expressjs/morgan) | HTTP请求日志 |
| [react](http://facebook.github.io/react/) | React框架 |
| [react-router](https://github.com/rackt/react-router) | React路由库 |
| [request](https://github.com/request/request) | HTTP请求库 |
| [serve-favicon](https://github.com/expressjs/serve-favicon) | 提供*favicon.png* |
| [socket.io](http://socket.io/) | 显示有多少用户在线 |
| [swig](http://paularmstrong.github.io/swig/) | 渲染HTML |
| [underscore](http://underscorejs.org/) | JS辅助库 |
| [xml2js](https://github.com/Leonidas-from-XIV/node-xml2js) | 将XML渲染为JSON |
在终端输入`npm install`安装依赖。

> 如果你使用Windows,可以使用[cmder](http://bliker.github.io/cmder)控制台模拟器,可以达到接近OS X/Linux终端的效果。
打开*server.js*粘贴下面代码,下面是最基础的Express应用,足够我们开始了。
~~~
var express = require('express');
var path = require('path');
var logger = require('morgan');
var bodyParser = require('body-parser');
var app = express();
app.set('port', process.env.PORT || 3000);
app.use(logger('dev'));
app.use(bodyParser.json());
app.use(bodyParser.urlencoded({ extended: false }));
app.use(express.static(path.join(__dirname, 'public')));
app.listen(app.get('port'), function() {
console.log('Express server listening on port ' + app.get('port'));
});
~~~
> 注意:尽管我们将使用ES6编写React app,但在这儿我还是决定使用ES5,因为这段代码从两年前到现在基本没有变过。并且,如果你第一次使用ES6,至少这个Express app对你来说还算熟悉。
然后,新建文件夹public,这里是我们放文件如图片、字体,以及压缩后的CSS和JS文件。

现在你可以在终端输入`npm start`启动应用,确保Express app没有问题。
> 注意:你现在可以使用`node server.js`来直接启动应用,但之后我们将使用Babel来预编译文件,也就是说你需要运行`babel-node server.js`来启动应用。
现在你应该可以看到终端输出“Express server listening on port 3000.”